Save the order evidence before the item reaches the warehouse
QC begins before purchase. In every CSSBuy spreadsheet row, retain the source URL, seller title, selected color and size, price, option screenshot, seller size chart, and product images that show the details you care about. If the item has several versions, document the exact selection rather than a broad product name. Seller menus can change, and a warehouse order title may be shortened, so saved evidence makes comparison possible later.
For clothing, add the fit goal. A T-shirt may be fitted, regular, boxy, or oversized; a hoodie may be cropped, relaxed, or heavy; a jacket may need room for layers. Measure a garment you already wear well and record chest width, body length, shoulder width, and sleeve length. These are better references than assuming that a familiar international size label will map to every seller.
Make a short agent note only when it removes ambiguity. State the exact option, quantity, and any detail that the order image alone cannot show. Do not ask the agent to choose your size based on a generic conversion. Instead, give the selected seller size and your saved chart comparison. Keep the seller's return rules, domestic delivery fee, and handling time beside the link.
Compare warehouse photos with the selected option
When warehouse photos arrive, first confirm identity before studying minor details. Check color, size tag, quantity, front and back design, major panels, pockets, closures, and included pieces. Compare the photos against the saved option screenshot rather than against a memory of the listing. A well-lit product image can look different from a warehouse image, so use multiple visible cues.
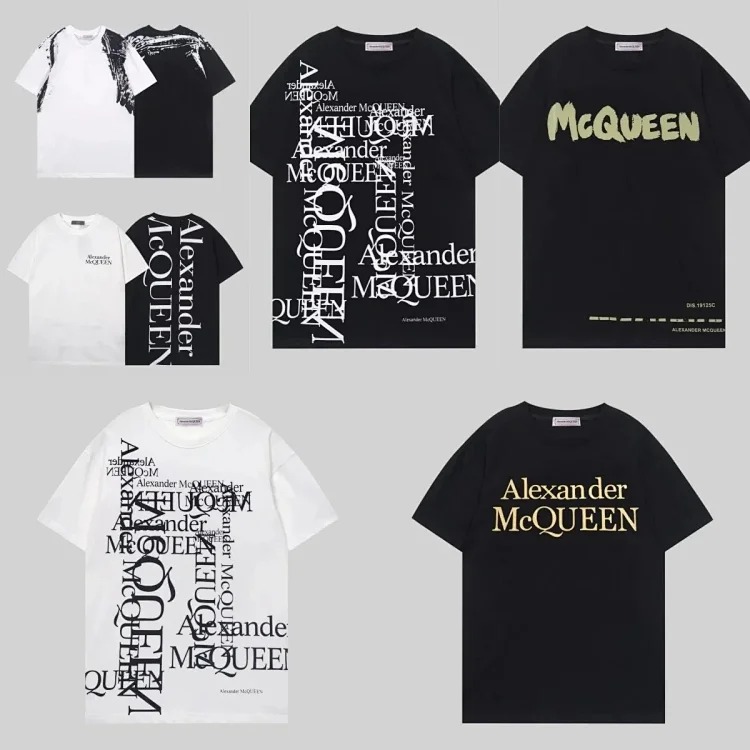 T-shirt QC reference
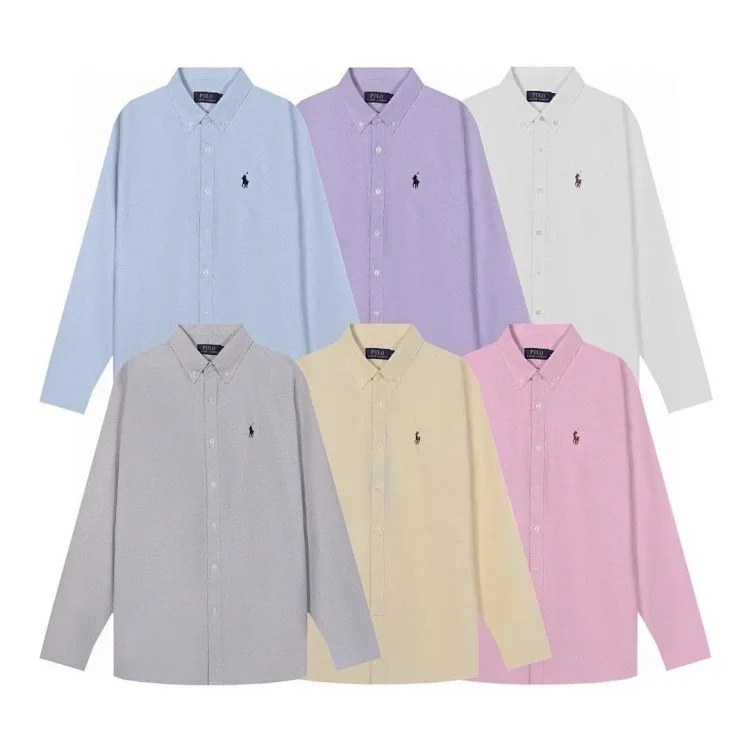 Hoodie QC reference
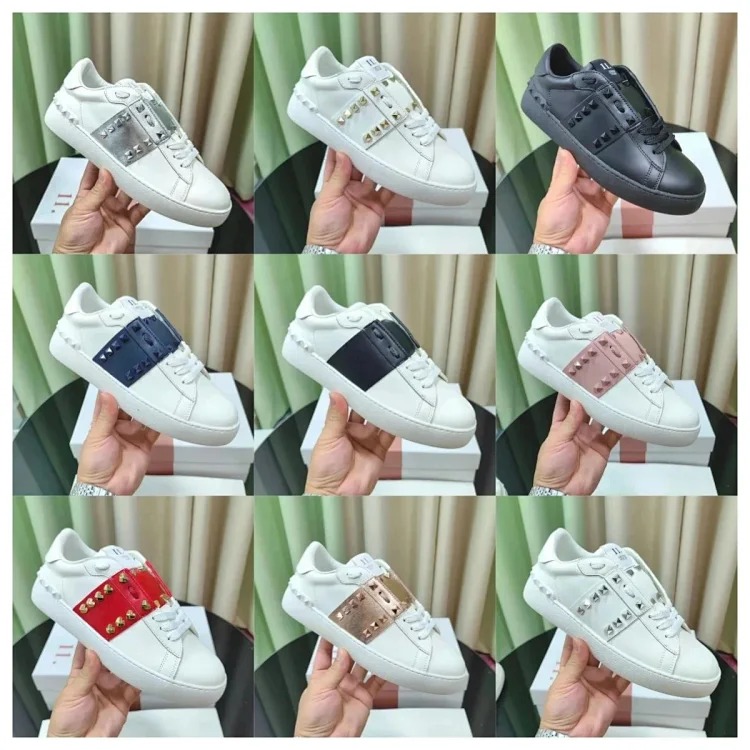 Jacket QC reference
For a printed T-shirt, focus on print placement, visible cracking, color boundaries, neckline, seams, and label. For a hoodie, inspect the hood shape, drawstrings, pocket, zipper where relevant, cuff and hem ribbing, and the inside if lining affects the decision. For a jacket, check outer fabric, lining, closure, collar, pockets, hardware, and whether the shape matches the intended layer. One attractive front photo does not establish that the item is complete or correctly selected.
Request measurements when fit evidence remains weak
Ask for a measurement only if it changes the decision. A clear request names the dimension, where it should be measured, and the unit. For example, request flat chest width from underarm to underarm, body length from the highest shoulder point to hem, or sleeve length from shoulder seam to cuff. Do not treat a warehouse measurement as laboratory precision. The value is most useful as comparison evidence against your own reference garment and seller chart.
- Confirm item identity, color, size tag, quantity, and selected version.
- Check major construction points: collar, seams, pockets, cuffs, hem, closures, and lining.
- Compare visible prints, embroidery, patches, graphics, and placement with the saved listing.
- Request a focused measurement or photo only where it resolves a material question.
- Record visible stains, holes, loose threads, damaged hardware, or obvious shape problems.
A general request for “better QC” often produces more images without a useful answer. Ask for the missing view instead, such as a photo of the back print, zipper pull, chest measurement, or inside tag. Store the response with the product row so any return, exchange, or acceptance decision has a traceable basis.
Separate visible QC from claims you cannot verify
Warehouse photos can reveal selected options and obvious condition issues. They cannot prove long-term durability, exact fabric composition, comfort, future shrinkage, or how a garment will fit after delivery. Keep those limits visible in your notes, especially when comparing listings with different lighting, styling, or incomplete product descriptions. A seller claim such as heavyweight cotton or water resistance should be recorded as a claim, not promoted into a conclusion because the product looks convincing in a photo.
The same caution applies to current listing status. Before finalizing an order, re-open the product URL and confirm that the option, price, chart, and seller photos still support your record. You can cross-check parcel companions through a shoe listing, a pants listing, and a small accessory listing. These are research examples, not a guarantee that a listing will remain unchanged.
Connect QC to your agent route and shipping plan
After QC, decide whether the item fits the intended CSSBuy agent route and parcel. Keep the order number, agent messages, warehouse photos, measurements, and any return window together. For a mixed clothing order, use parcel rehearsal before shipping. A fleece hoodie, padded jacket, and shoes can create more chargeable volume than a list of item weights suggests.
Refresh current route restrictions, insurance terms, estimated transit times, customs requirements, and chargeable-weight rules near shipment submission. Decide packaging deliberately. Removing retail packaging can reduce volume, but it can also reduce protection or discard an item that helps identify the product. The right choice depends on the parcel, not a fixed rule.
Keep your CSSBuy QC row current
A complete row includes the checked date, source URL, saved evidence, selected option, fit notes, QC requests, warehouse results, decision, agent route notes, and shipping considerations. Flag the row when a listing redirects, an option disappears, or evidence is too weak. This makes the CSSBuy Super Sheet a practical library rather than a static gallery.
Continue with the CSSBuy Product Links Guide, CSSBuy QC Guide, CSSBuy Agent Guide, and CSSBuy Shipping Guide. Return to the CSSBuy Super Sheet Link Library, read the CSSBuy bag links guide, or browse the complete news and guide library.